DIY Snap Circuit Jumper Wires
2020-08-10 do-it-yourself kids
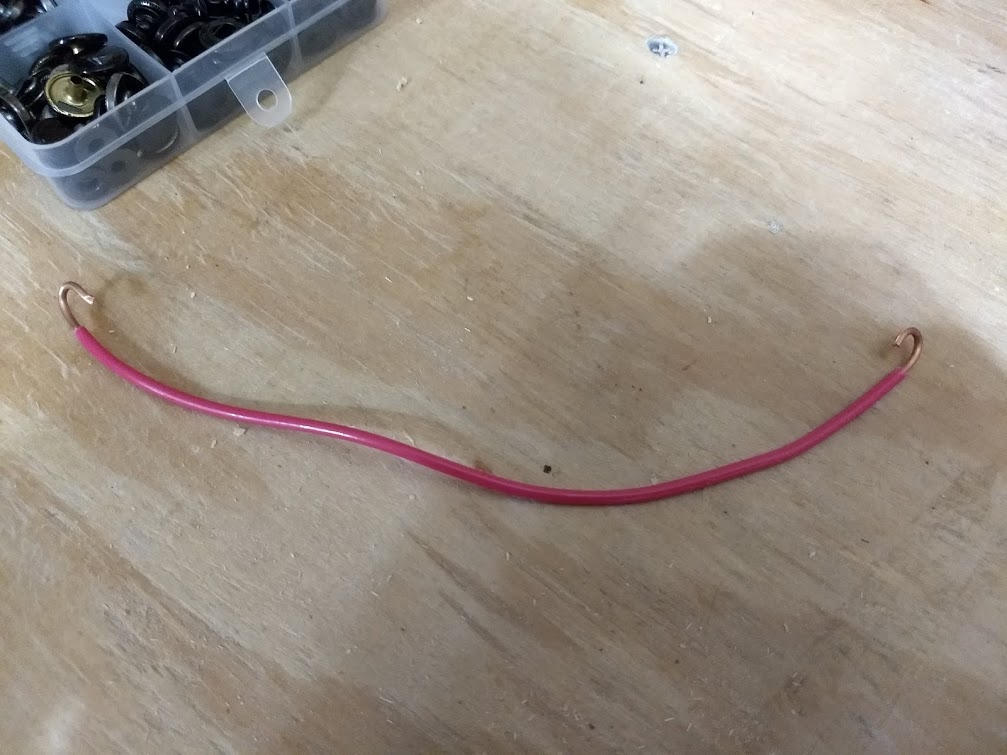
We play with Snap Circuits a lot around here, and it’s a lot of fun. The only issue we’ve had is that the jumper wires (the flexible ones) fall apart very easily:
I had some luck soldering one back together, but it was a hassle because I had to whittle (or melt) away some of the plastic on the terminal to expose something to solder to.
Then I got the idea to get some metal clothing snaps and use those. This was very quick and easy, and a moderate success. I describe it below.
Metal snaps
I bought a kit of 12.5mm metal snaps off of Amazon (for completeness: this one). It came with some little hand tools for installing the snaps.
The great news is that these work: they are compatible with the snaps in Snap Circuits, and they’re conductive (they came in four finishes, and all are conductive). The bad news is that I could only figure out how to make these into “one-way” snaps: they have a female port (socket) on the bottom, but no male port (stud) on the top. It may be that Snap Circuits have some sort of custom part to join them in the middle.
Anyway, the “one-way” snaps are sufficient for our needs, so I’ve made a few of them now. Here’s what they look like:
Parts
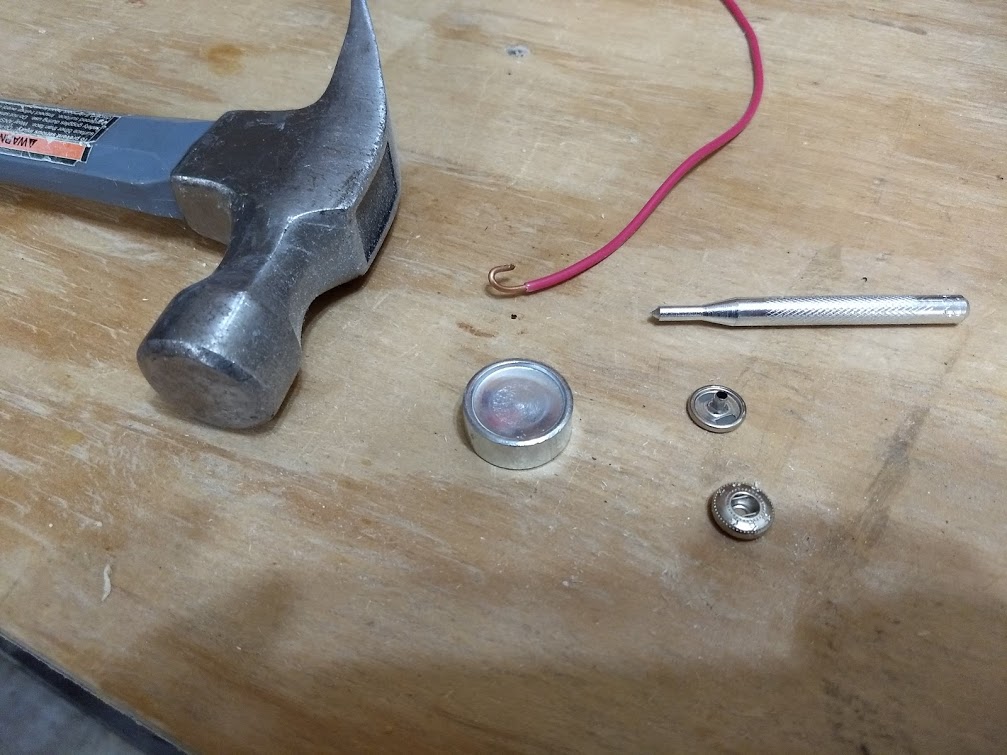
I used the following:
- 12.5mm snaps
- Little punch that came with the snap kit
- Little concave surface that came with the snap kit
- Hammer to hit the punch
- 14 AWG copper wire (any wire you have lying around should be fine)
- Lineman’s pliers to strip the wire and hook it at the ends
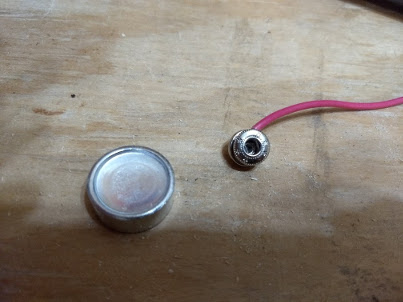
In typical use, assembling the snap involves four parts: two for the female side (cap and socket) and two for the male side (post and stud). In this case, we’ll only use the two pieces for the female side.
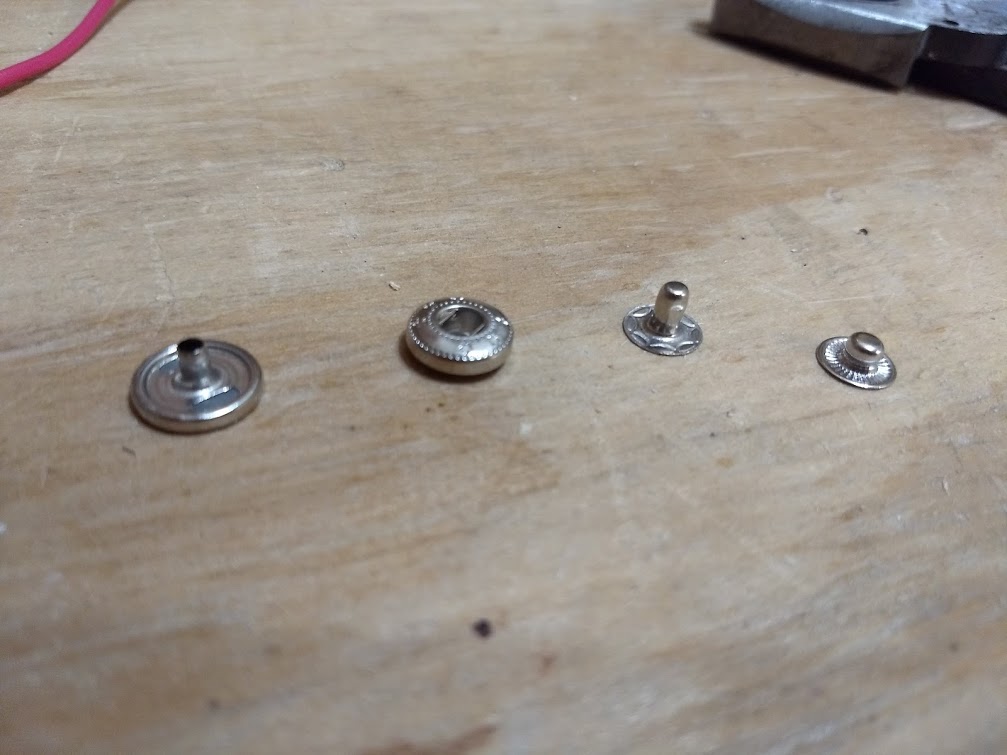
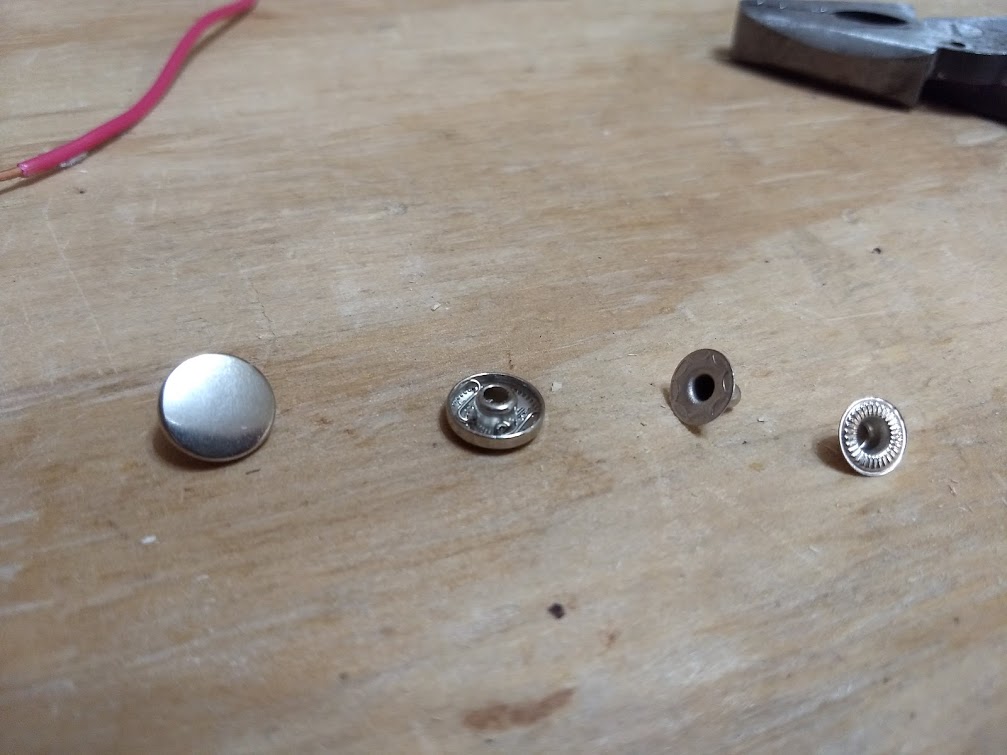
The ones we use are the two on the left.
Procedure
This only takes about a minute to do.
-
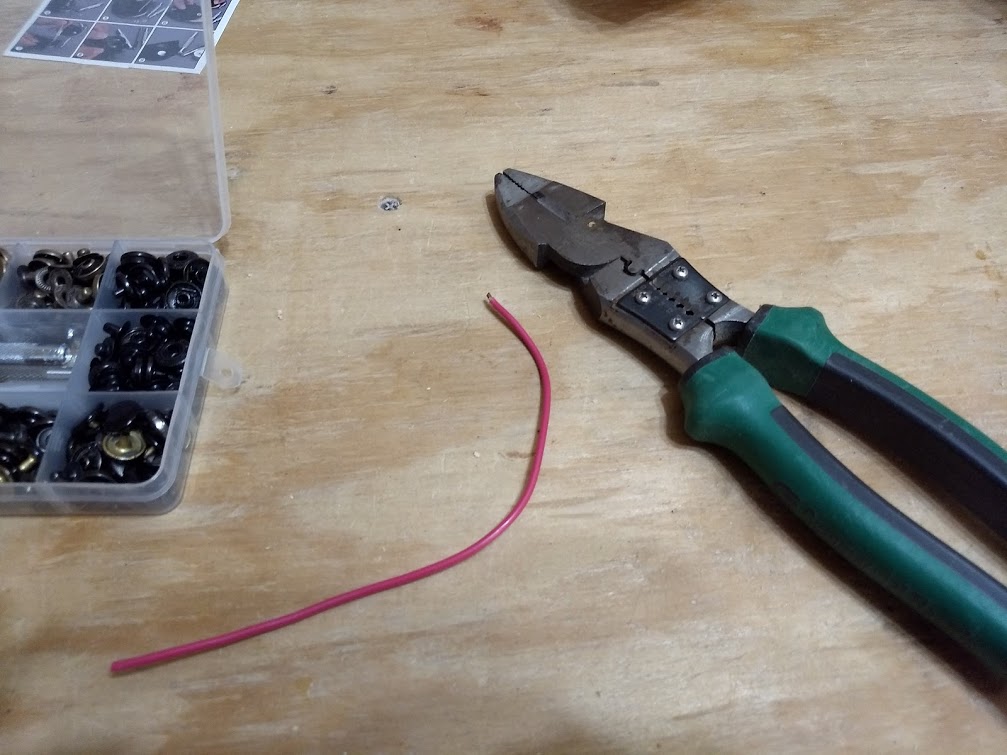
Take a length of wire. Strip about 3/4" of insulation off each end and put a hook on the ends.

Preparing the wire 
The prepared wire -
Put the cap down on the concave surface. Put the wire’s hook around the vertical bit. Put the socket on it, and hold it all together lightly with pressure from the punch.
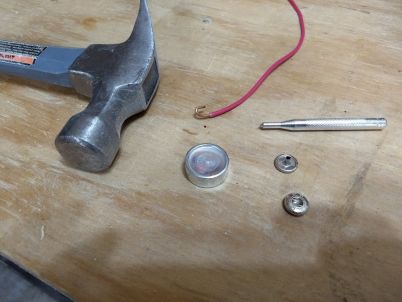
Just before putting it all together 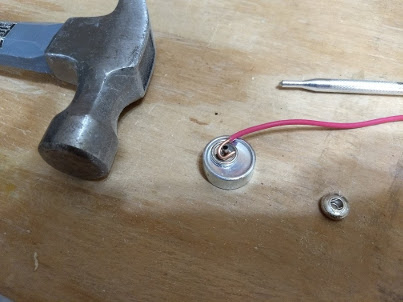
Wire’s hook around the vertical part of the cap 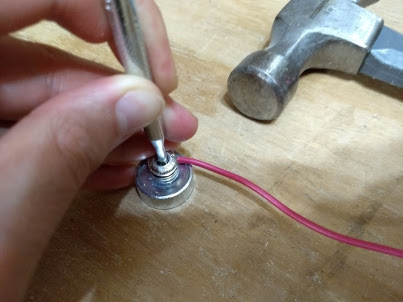
Holding the cap, socket, and wire together with light pressure from the punch -
Hammer the punch. It doesn’t take much.
The completed snap terminal 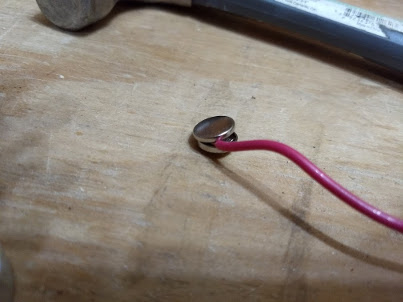
Other side -
Repeat for the other side.


It’s not the prettiest thing, but it works. Enjoy!